The rock-painting process is time consuming.
1. Get inspired. (Seeing actual rocks while one walks, goes a long way to sparking inspiration. It is delightful to discover a tiny work of art while trying to get your 10,000 steps in.)
For example, this evening, while catching Pokemon along the Vedder, I noticed this treasure under a bench:


Lovely, yes?
Another source of inspiration is Pinterest. Yeah, most of these are intimidating. This is my pinterest page.

Or just google "rock painting" and click on images.
2. Get rocks. Hahaha. This was not as simple as I thought it'd be. The best rocks are near the water. So, think, lake, river, ocean. (Or your neighbour's landscaping rocks are perfect for this.) I decided to pick up rocks on one of my usual walks. And just put them in my pockets. Like a 5 year old boy.
Know what? Ten rocks are heavy. Five in each vest pocket, and my vest was hanging to my knees in the front, and the back was riding all the way up to my shoulder blades. And then I had to walk 2 km back to my truck looking like that.

Thinking of maybe bringing a bucket along next time.
(Or just knicking my neighbour's landscaping rocks at midnight.)
3. Wash rocks. And vest. Because both are covered in sand and dirt.

4. Dry rocks overnight. They should be totally dry before you paint on them.


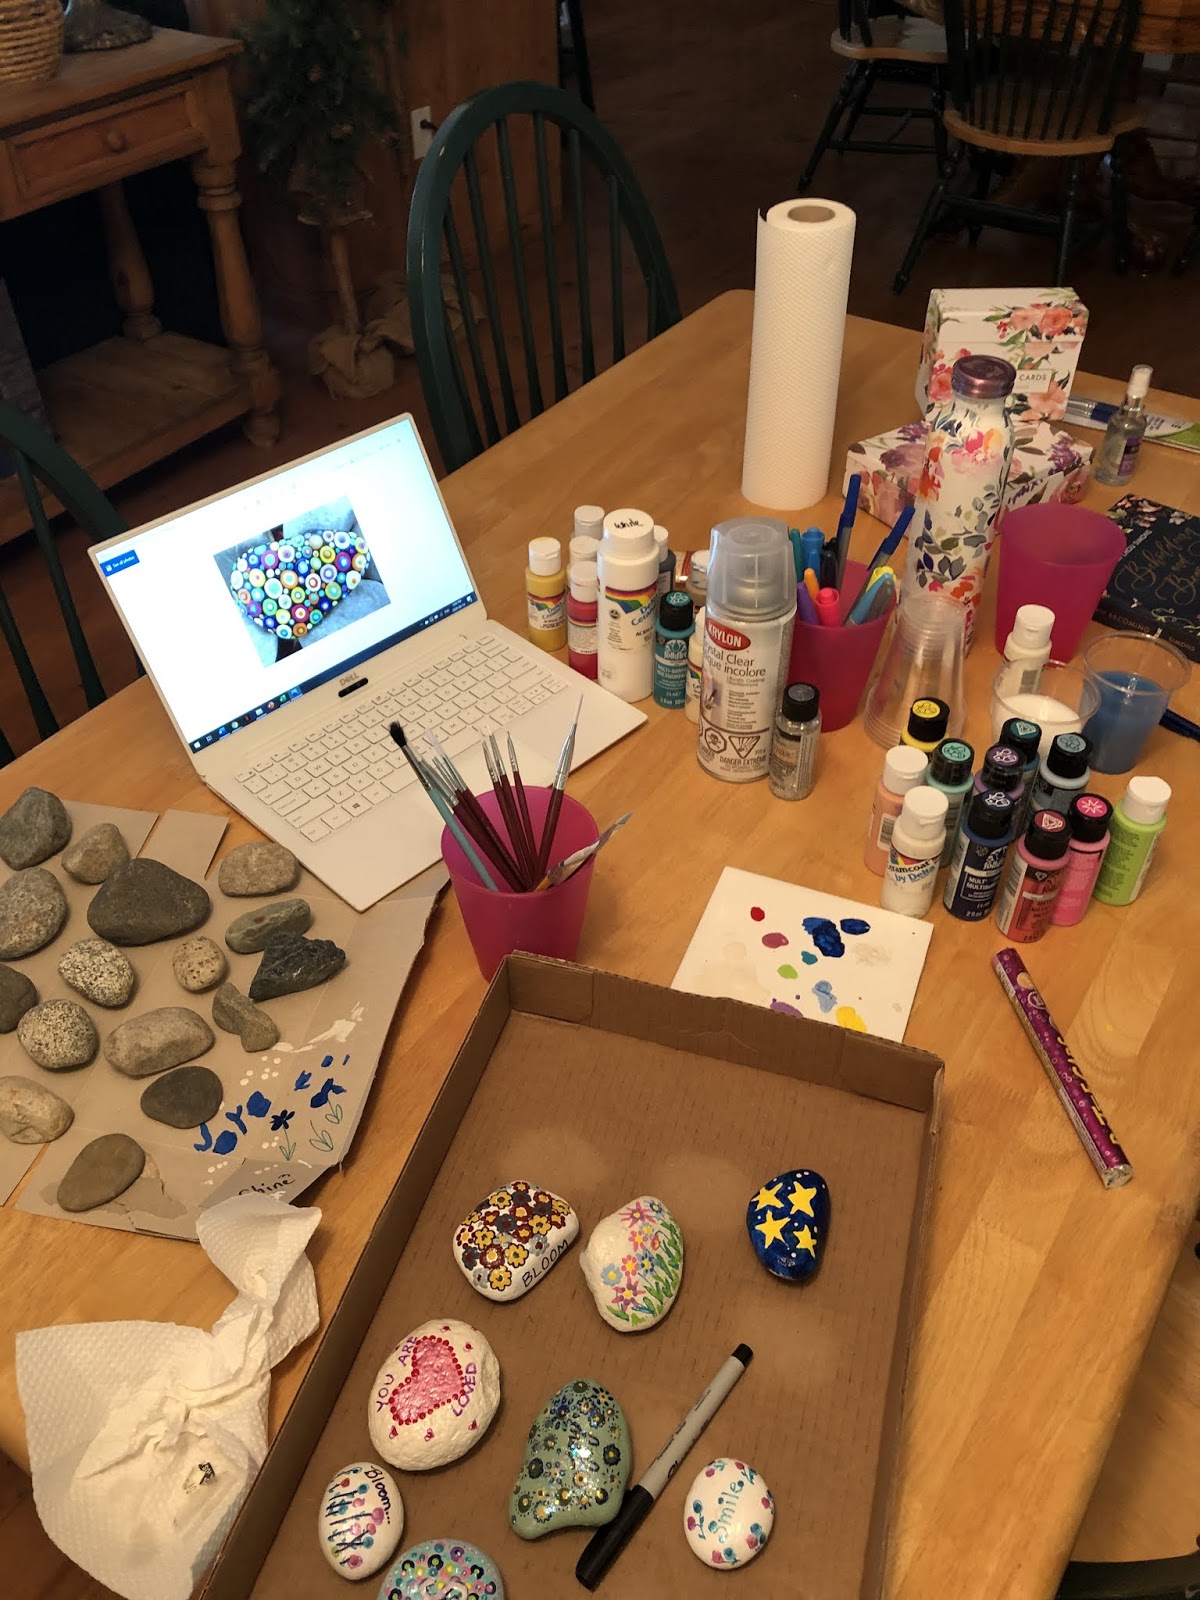
5. Gather supplies. At some point, you'll need to make sure you have acrylic craft paints, an assortment of not-sucky brushes, and some sealer. Or hang out with a friend who has these items.
The first time I painted (with Maxine and Heather) I thought I could get away with some old Billie's Country paints and brushes. But Billie's has been closed for about 20 years and those colours? Were not happy. Haha. Hard to be JOYous with colours like dull green and mustard yellow. BLOOMing isn't exciting when you're painting with barn red, golden yellow and sad blue. Oy, those folk art colours of the '90's were not cheerful.
So I picked up a package of cheap, but better brushes and a dozen smiley colours, including two metallics and one glitter paint. I miss Billies. Shopping for craft supplies at Walmart is just so sterile.

6. Start painting. Invite friends over to paint too. WAY more fun than doing it by yourself.


My rocks:


Maxine's works of art:

And Heather, who is a MACHINE:

Just got some pics from a friend who's a piano teacher. She's painting a rock for each student:


It's now mid-June and all I've done is three rocks, that I never got around to finishing or sealing. So my plan this weekend (besides reading my Book Club book, doing a couple loads of laundry, walking every evening, doing a blog post, watching 13th on Netflix, cleaning the bathrooms and sleeping 12 hours each night,) IS TO PAINT THE REST OF MY ROCKS. (And collect another dozen.)
Next time I'll put down a plastic table cloth.

And have more snacks on hand.

Accepting the fact that I can't write on rocks very well.

That sealer is powerful. Whoa. Left the rocks in the bathroom with the door closed and fan on so I wouldn't pass out from the fumes.


Printing a word on top of dabs of paint is not easy or fun. That's 6 coats of white paint for SHINE. I won't do that again.

Joy looks a bit more joyous with the glitter paint added, yes?
AND WHOA I SUCK at using a paint brush. ABSOLUTELY no control. Those stars in the night sky look like a 6 year old did it.

This one was the easiest, most relaxing one to paint.

Lastly, I added my blog address to the back, so whoever picks them up, can see who made them.
~~~~~~~~~~~~~~~~~~~~~~~~~~~~
Three things I'm thankful for:
1. Wildflowers, especially those blue ones, along the side of the roads and in ditches.
2. Four-day work weeks.
3. A hair appointment! Mid-July. Last time my head had any attention paid to it was before Christmas.
Wash your hands,
stay safe,
xo
No comments:
Post a Comment